A talking head video is the simplest video a business can make: you, sitting in front of a camera, talking to the person watching. No crew, no locations, no script if you do not want one. It is also the format that quietly eats the most time, because the filming takes ten minutes and the editing can take two hours.
I record three long-form talking head videos every week. Each one used to take me roughly two to three hours to edit from start to finish. Now I get four to six hours of my week back, because three AI tools do the editing for me. This is how that works, what it looks like, and what went wrong along the way.
What is a talking head video?
A talking head video is any video where a person speaks directly to the camera, usually framed from the chest up, and their face and voice carry the message. Explainers, tips, updates, opinion pieces and most YouTube tutorials from small businesses are talking head videos.
They work for small businesses for a simple reason: people buy from people. A customer who has watched you explain something for eight minutes already knows how you talk, how you think and whether they trust you. No stock footage does that.
The catch is the edit. A raw talking head recording is full of pauses, restarts and "let me say that again" moments. Left in, they make the video feel slow. Cutting them out by hand means scrubbing a timeline, looking for the flat bits in the audio, trimming the start and the end, and deleting every bad take. That is the part that stops most business owners from posting, and it was the part that ate my evenings.
The three tools I use to edit a talking head video
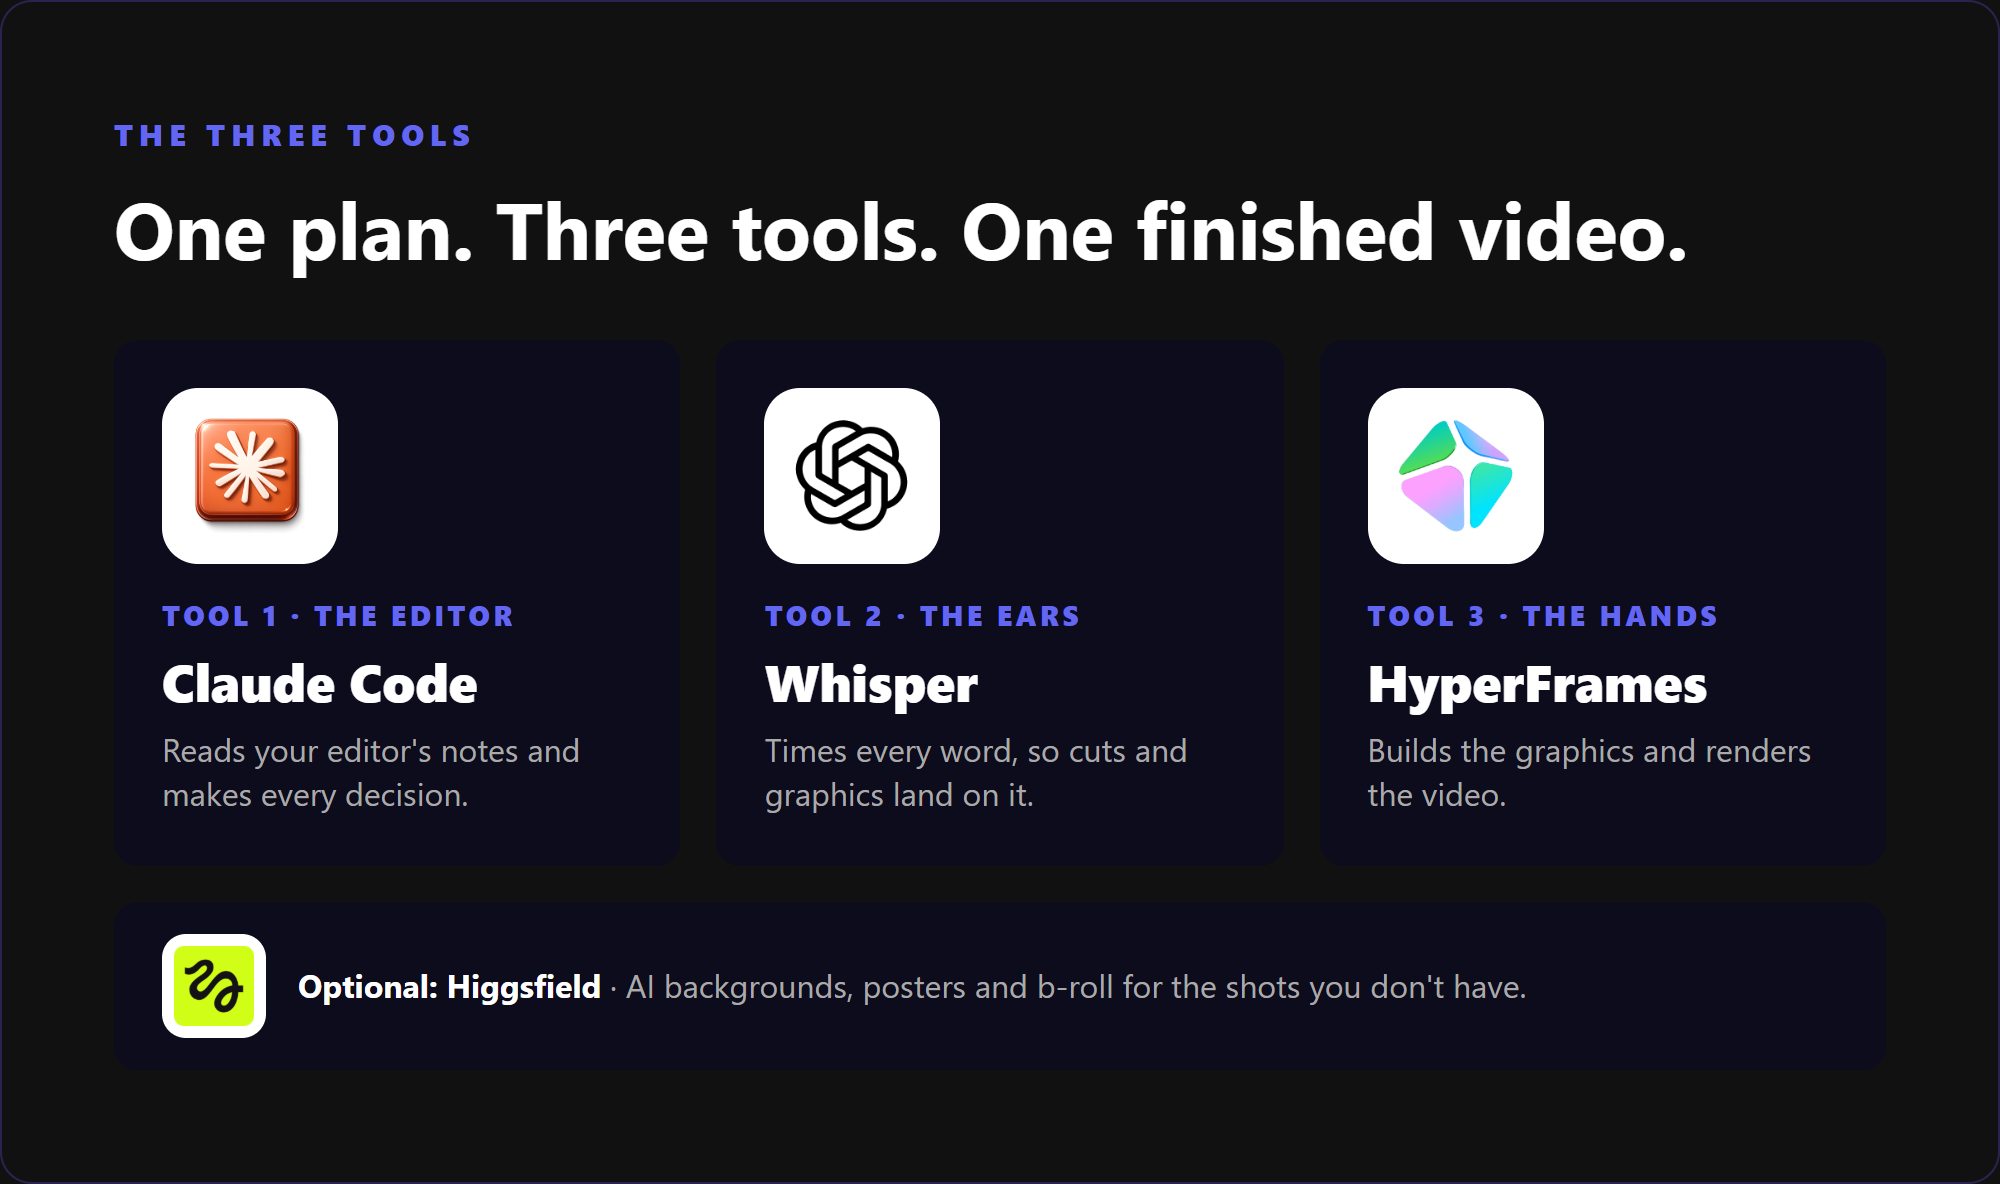
My whole edit runs on three tools, plus one optional extra. Each one has a single job.
- Claude Code, the editor. This is the brains of the operation. It reads my notes, makes every decision about the edit, and connects the other tools together.
- Whisper, the ears. Whisper transcribes the recording and times every single word, which is what lets the edit cut mistakes and dead space without chopping a word in half. I run faster-whisper on my own graphics card, and it is free.
- HyperFrames, the hands. HyperFrames builds the graphics, animations and motion on screen, then renders the finished video.
- Higgsfield, the bonus. For anything code cannot draw, Higgsfield generates it: b-roll images, b-roll video and, as you will see below, whole backgrounds. No more digging through Google for stock photos.
Step 1: Write the editor's notes before you film
This is the step that makes everything else work, and it happens before the camera is even on.
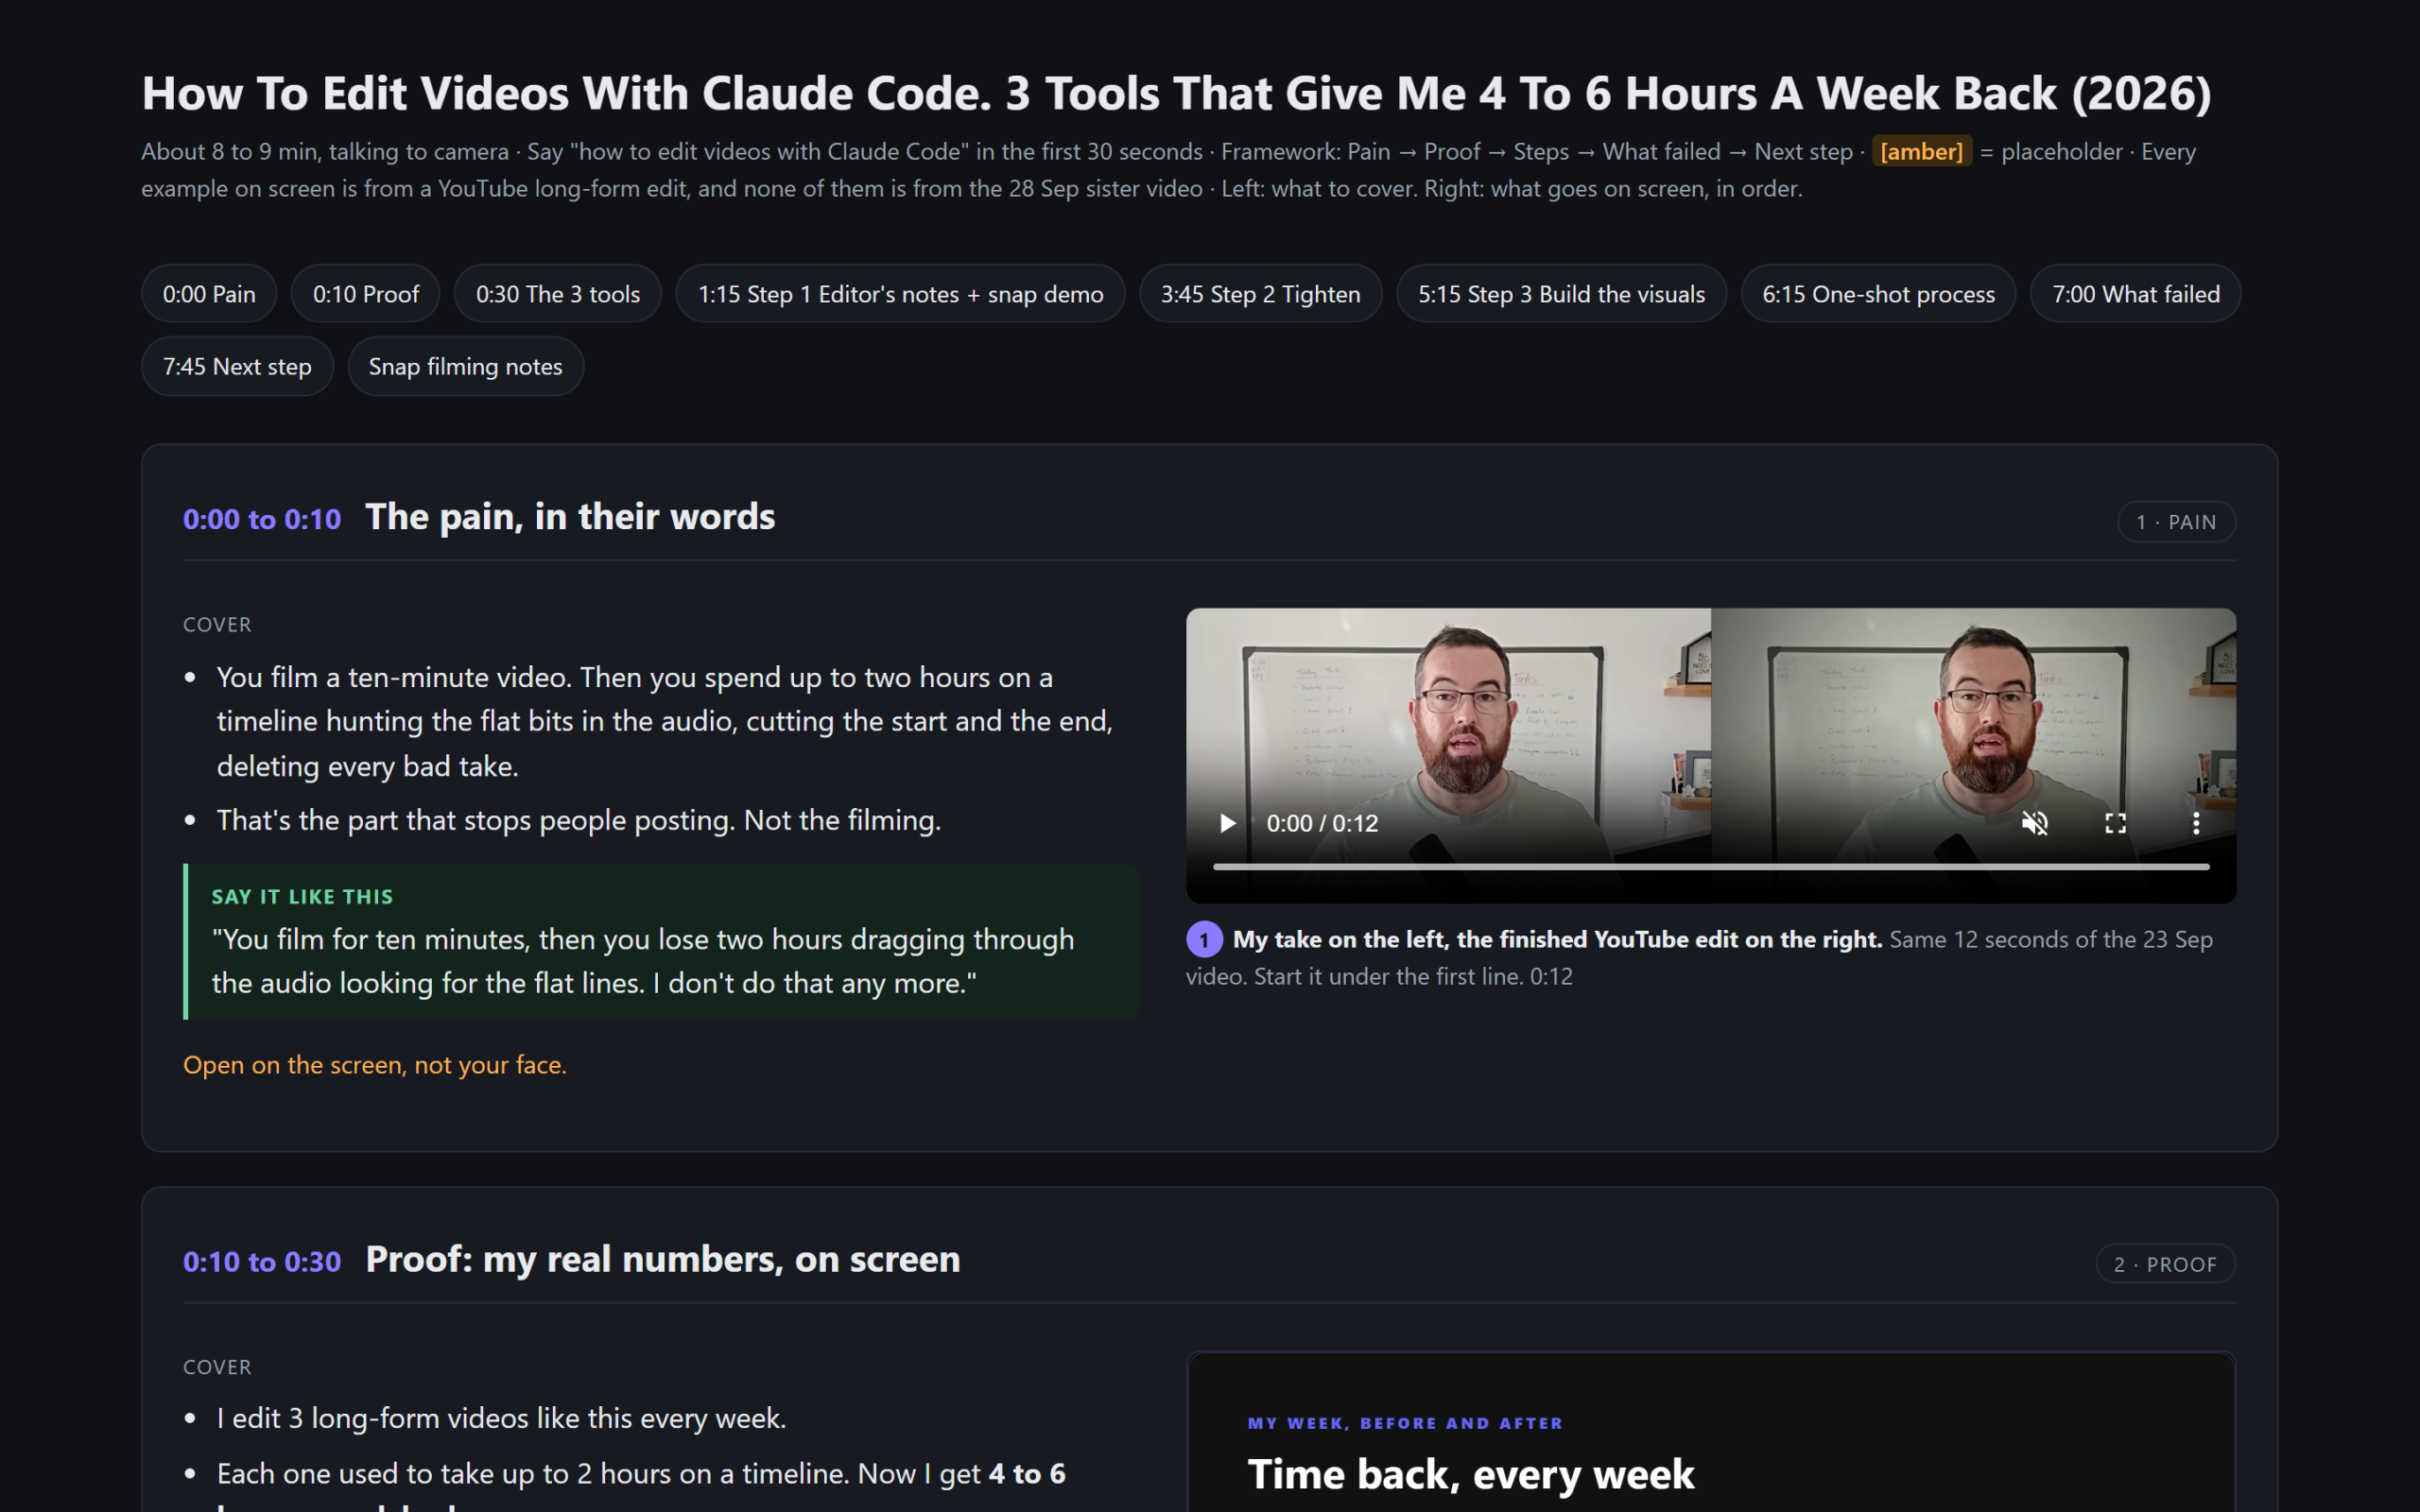
Before I record, Claude builds me a filming guide: a simple web page that breaks the video into sections. Each section has the key points I want to cover on one side and what should appear on screen on the other. I am useless at recording from a word-for-word script, so these notes are what I talk from.
That right-hand column is the important part. It is the editor's notes. If you let an AI pick a graphic for every sentence on its own, you get vague, abstract filler, because it is guessing what your sentence should look like. When the notes already say "bar chart here" or "show the logos here", there is nothing to guess.
The snap test
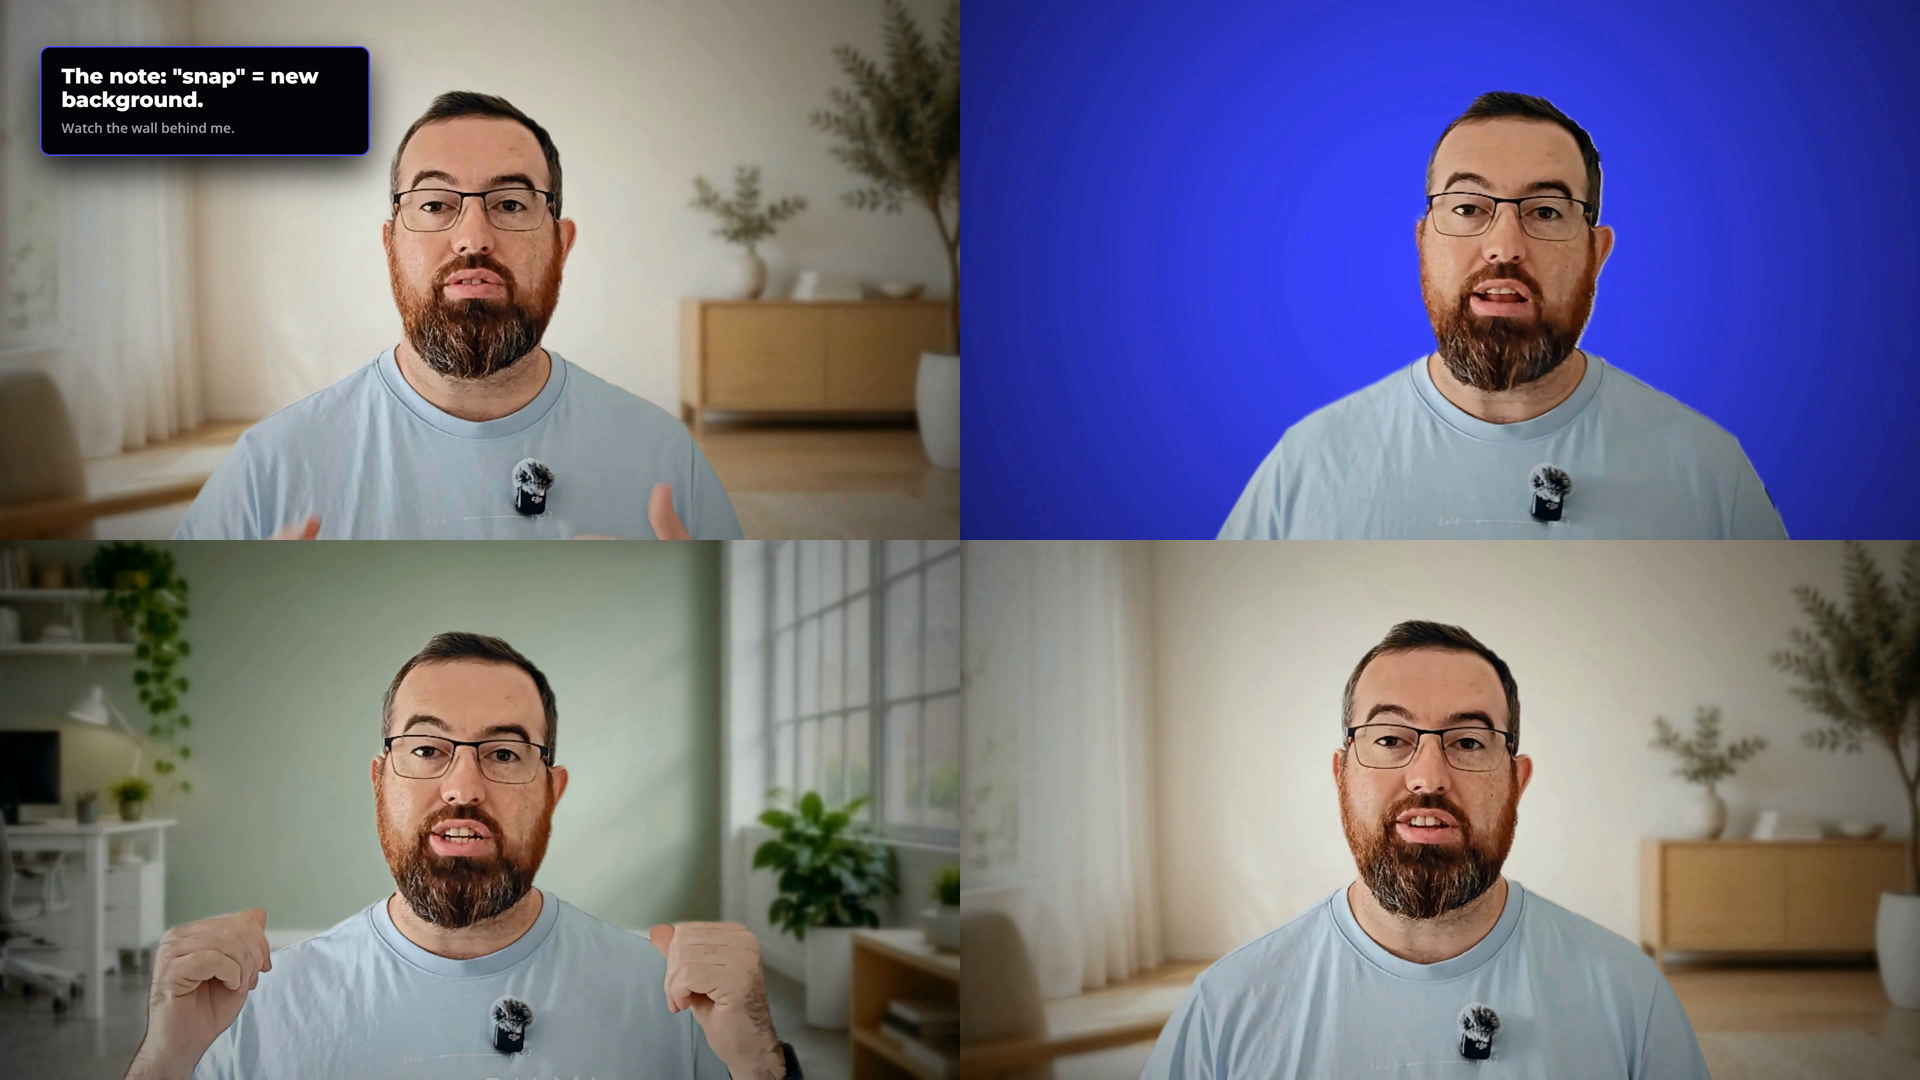
To show how far a single note can go, I put one instruction in the notes for this video: when I say "snap", change the background.
So I said it, snapped my fingers, and in the edit the wall behind me swapped to a solid colour. Another snap, and I was in a sage green studio. A double snap took me back to the original room. There was no back and forth during the edit and no green screen. Claude cut me out of the shot and the new rooms were generated in Higgsfield.
Step 2: Tighten the audio with Whisper
This is the step most people skip when they try to get AI to edit their videos, and it is the one that saves the most time.
Whisper does not edit frame by frame. It edits based on text. Once every word has a start time and an end time, Claude can see exactly where I paused, where I restarted a sentence and where I told it I had made a mistake. It removes every gap longer than a normal pause and every retake, and because it knows where each word starts and ends, it never cuts through one.
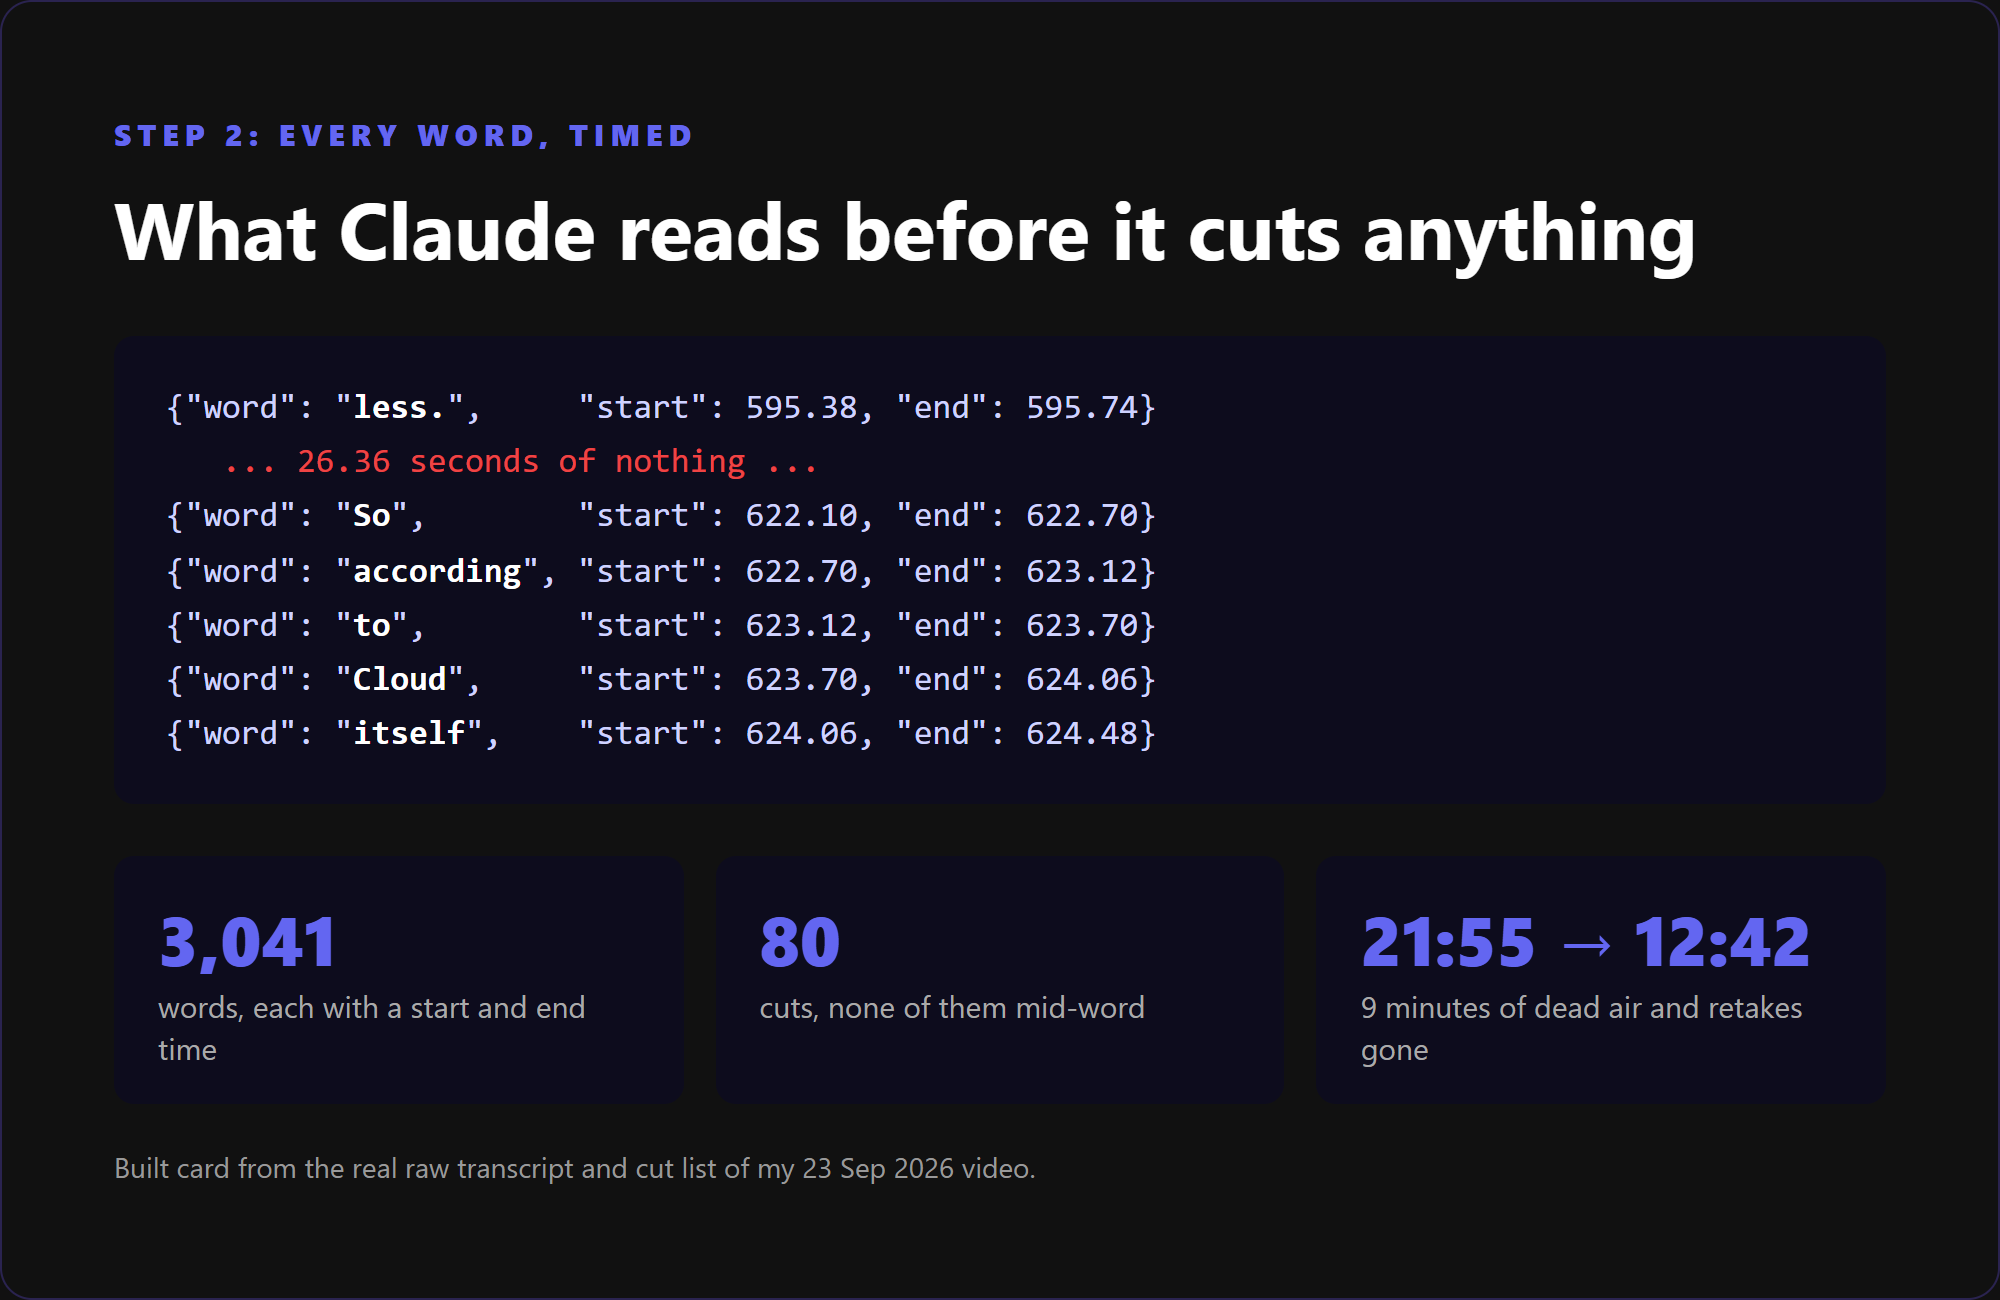
For most of my videos I record around 20 minutes, and by the time this runs, it cuts down to 12 or 13 minutes. The video embedded above went from just over 12 minutes recorded to under 9 minutes finished, with two full retakes removed along the way.
Step 3: Build the visuals with HyperFrames
Once the audio is tight, HyperFrames turns the editor's notes into motion on screen, laid on the exact word Whisper timed.
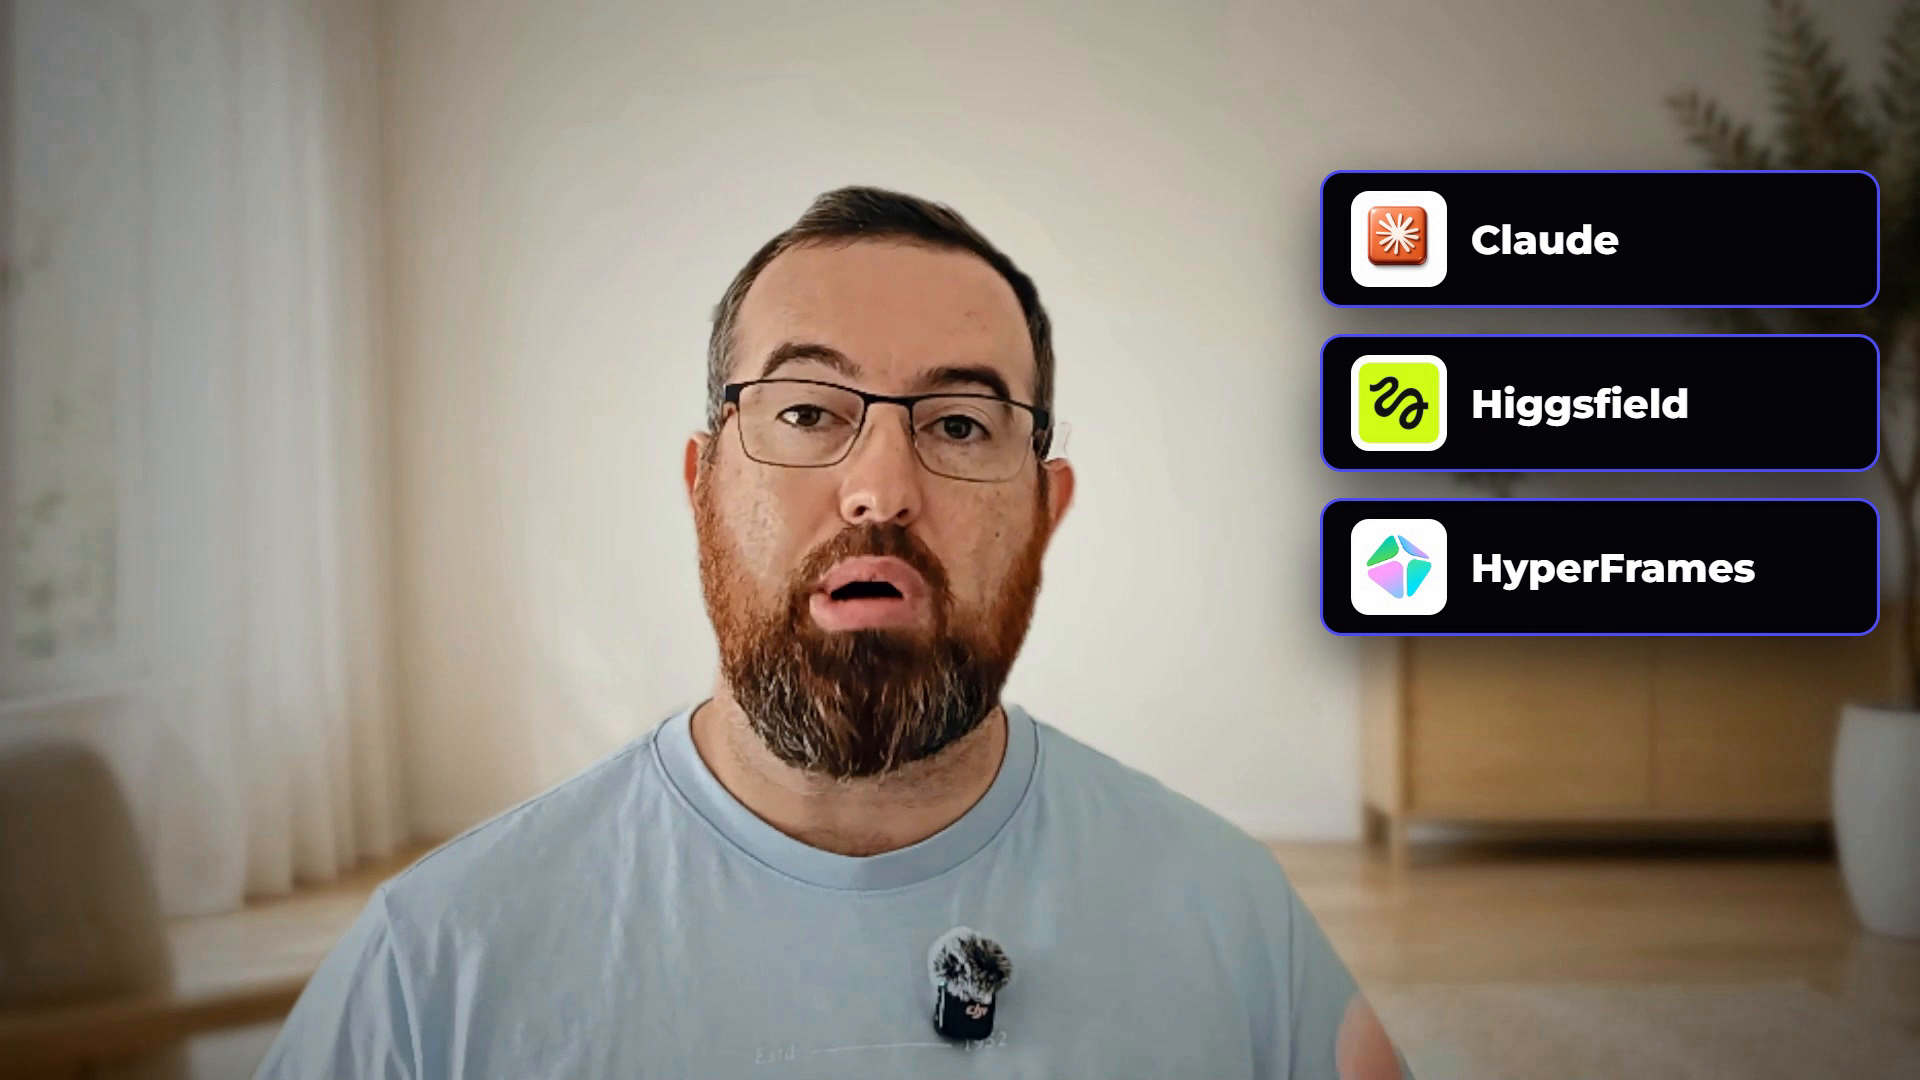
In this video that means logos popping up beside me as I name each tool, with a small sound effect on each one. It means a bar chart whose bars move up and down while I talk about it, and a pop-up for my community when I mention it. On a talking head video the frame itself can move too, sliding me into a card on one side so a graphic has room on the other.
The best part of planning the visuals in the filming guide is consistency. Everything is already decided before the edit starts, so there is no scrambling around in the middle of it trying to find a bit of b-roll.
The one-shot process, start to finish
Here is the whole routine, in order:
- Get Claude to write your filming guide. It structures what you will say and what goes on screen.
- Sit down, set up your phone and record. No stopping for retakes. If you make a mistake, just say so and keep going, and the edit will cut it out.
- Drop the file into Claude Code and tell it: "I want you to edit this long-form video for me."
- Let it run. It transcribes, makes the cuts, and opens everything in HyperFrames with the motion graphics in place. You watch a live preview and leave notes before anything is rendered.
The key is setting the structure first. After that, AI does 90% of the work. A normal YouTube video that could take four, five or six hours from start to finish can be done in about an hour of your own time, often less.
What went wrong along the way
It is not all rosy, and it is worth knowing where it breaks before you start.
- It struggled with my accent. I am from Ireland, and a common problem is that transcription spells Claude as "Cloud". Over time my setup learned that I talk far more about Claude the AI than the clouds in the sky, and it now builds the right thing.
- Background swaps took some trial and error. For a long time I tried a dark background, and the cut-out of me never looked natural against it. Switching to a brighter background, just not my own room, fixed it.
- Rendering crashed my computer. Rendering does not need a powerful machine, but it does need to not use up every resource you have. I learned that the hard way. Now it renders on the graphics card and leaves the rest of the computer alone.
Each of those went wrong once and is now part of the setup, so it does not happen twice. Expect a learning curve, but not a long one.
Frequently asked questions
What is a talking head video? A video where a person speaks directly to the camera, usually framed from the chest up, and their face and voice carry the message. Most small business explainers and YouTube tutorials are talking head videos.
How do you edit a talking head video quickly? Transcribe it with word-level timings, cut the pauses and retakes from the transcript rather than the timeline, and plan the graphics before you record. With Claude Code, Whisper and HyperFrames doing that, my edits take about an hour of my own time.
Do I need a script for a talking head video? No. I work from a filming guide with the key points and the on-screen visuals for each section. It keeps the video organised without reading word for word.
Can AI change the background of a talking head video? Yes. In my video, a spoken cue swapped the background three times. Claude cut me out of the shot and Higgsfield generated the new rooms. Anything that looks like real footage and is not should carry an AI label.
How much time does AI editing save? For me, four to six hours a week across three long-form videos, each of which used to take two to three hours to edit by hand.
Where to start
Before your next talking head video, write your editor's notes first. Even in a notebook, a notepad or a Word document, get a clear breakdown of what you will cover and what should be on screen. Then record, and hand the edit to AI.
If you want the skills and the step-by-step setup I use, they are inside The AI Marketing Hub, with a 7 day free trial so you can look around first. I have also written about using Claude Code for YouTube and turning YouTube videos into LinkedIn posts if you want to get more from every video you make.
Disclosure: Some links in this article are referral links. If you use one, I may earn a commission at no extra cost to you. I only link to tools I actually use.
How this was made: The facts, numbers and examples in this article come from my own work and videos. I use AI to help draft and structure the writing, then I review and edit every line myself before it goes live.

About the author
I'm Wayne St Ledger, and I run St Ledger Marketing. I started out in construction as a plasterer, then went on to a Bachelor's in Marketing and a Master's in International Business, which is where my bias toward results over talk comes from. I help business owners build marketing systems they actually understand, using AI in grounded, practical ways rather than hype. I also run a YouTube channel on marketing and AI, and The AI Marketing Hub, my own community for business owners and marketers putting AI to work properly.